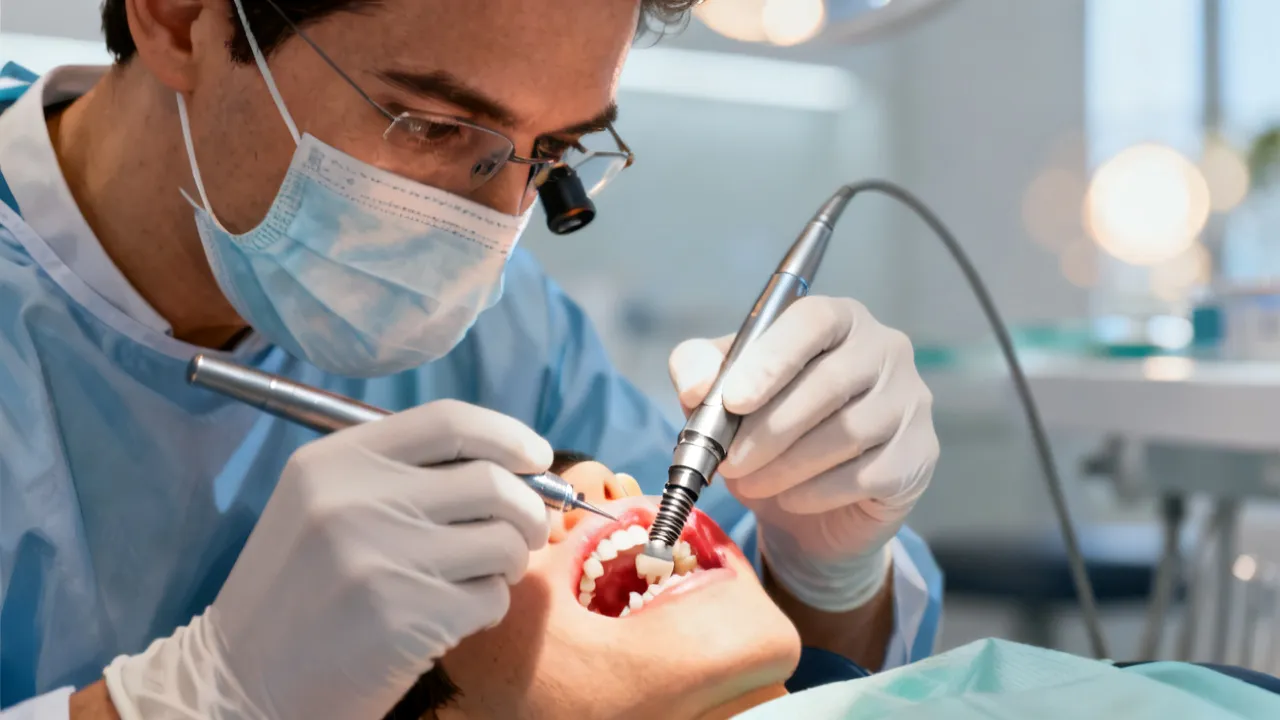
The Correct Tooth-Brushing Order for Better Oral Health
This guide explains the correct tooth-brushing order, including preparation, flossing, brushing, tongue cleaning, rinsing, and post-brushing care. The Korean term “양치질 순서” refers to the sequence used when cleaning the mouth, and following a consistent routine can improve plaque control and help protect teeth, gums, fillings, crowns, and dental implants. The article also reviews implant-care principles, lower-cost treatment planning, international price ranges, and reputable information sources.
What Does “양치질 순서” Mean?
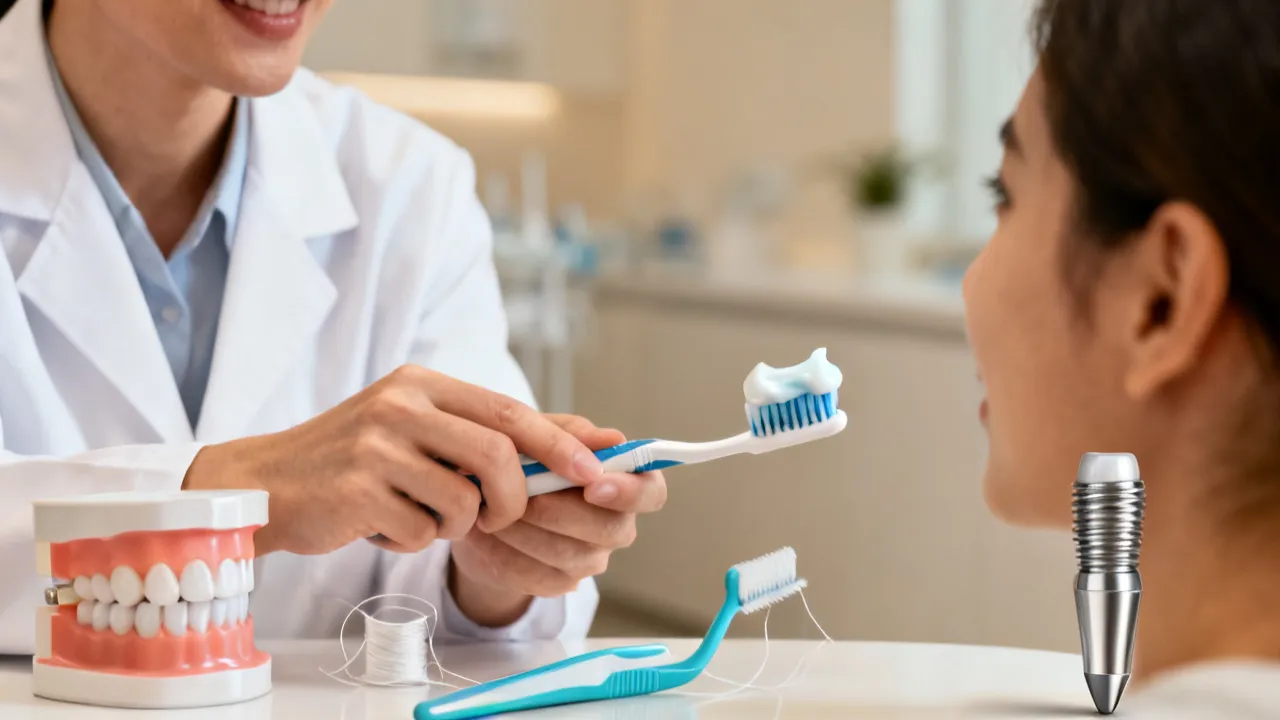
“양치질 순서” is a Korean expression meaning the order or sequence of tooth-brushing and oral-care steps. Although there is no single rigid ritual that every person must follow, arranging the routine in a logical order can make plaque removal more consistent. A well-planned sequence helps people remember areas that are commonly missed, including the gumline, spaces between teeth, the tongue, the back surfaces of molars, and the area around crowns, bridges, braces, or dental implants.
For most people, a practical routine is to clean between the teeth first, brush with fluoride toothpaste, clean the tongue gently if desired, spit out the toothpaste, and then rinse and store the toothbrush properly. The most important factors are not perfection or speed but consistency, gentle pressure, complete coverage, and the use of tools that fit the individual’s mouth.
A commonly recommended sequence is:
- Inspect the mouth and prepare the necessary tools.
- Clean between the teeth with floss, an interdental brush, or another dentist-recommended device.
- Brush all tooth surfaces and the gumline with fluoride toothpaste for approximately two minutes.
- Clean the tongue gently if it is comfortable and appropriate.
- Spit out the toothpaste and avoid immediately rinsing with a large amount of water.
- Rinse the toothbrush, allow it to dry, and replace it when the bristles become worn.
This routine is educational and is not a substitute for an examination. People with braces, periodontal disease, dental implants, bridges, crowns, dentures, dry mouth, reduced hand mobility, frequent tooth decay, enamel erosion, or other oral-health concerns may need a modified sequence. A dentist or dental hygienist can demonstrate the correct tools, pressure, angle, and cleaning frequency.
Why the Order of Oral-Care Activities Can Matter
Tooth brushing, interdental cleaning, tongue cleaning, and mouthwash all serve different purposes. A toothbrush is effective on broad tooth surfaces and along the gumline, but its bristles usually cannot reach the entire contact area between tightly positioned teeth. Floss and interdental brushes are designed to address these spaces. Tongue cleaning can reduce retained debris and odor-producing compounds, while some mouthwashes provide additional chemical support for plaque control, sensitivity, or tooth decay prevention.
Doing the steps in a repeatable order reduces decision-making. This is especially helpful for children, older adults, people with busy schedules, and anyone who is tired at night. A predictable routine also makes it easier to identify which step has been skipped. For example, someone who always begins with interdental cleaning may be less likely to forget flossing than someone who treats it as an optional final step.
However, order should not become a reason to avoid oral care. If a person brushes first on one occasion and flosses afterward, the cleaning is still more beneficial than doing nothing. A routine that is simple enough to perform every day is generally more valuable than a complicated sequence that is followed only occasionally.
The Recommended Tooth-Brushing Sequence
1. Prepare the Mouth and Equipment
Choose a soft-bristled toothbrush with a head that can reach the back teeth without causing discomfort. A small or medium-sized head is often easier to control than an oversized head, particularly around crowded teeth and the last molars. Manual and powered toothbrushes can both be effective when used correctly. A powered toothbrush may be helpful for people who have difficulty controlling hand movements, maintaining a consistent brushing motion, or judging pressure.
A powered brush is not automatically better for every person. Its effectiveness depends on correct placement, sufficient time, replacement of the brush head, and coverage of every surface. When using one, allow the brush to do the movement rather than scrubbing aggressively. Manual-brush users should also use controlled, short movements instead of broad, forceful strokes.
Use a fluoride toothpaste appropriate for the person’s age and dental needs. Adults commonly use toothpaste containing approximately 1,350 to 1,500 parts per million fluoride, although a dentist may prescribe a higher-concentration product for selected patients at increased risk of decay. Children should use an age-appropriate amount under adult supervision, particularly while they are still learning to spit reliably.
Before beginning, look briefly for trapped food, swollen or red gums, ulcers, cracked teeth, loose fillings, a loose crown, or an area that looks different from usual. This quick inspection cannot diagnose a problem, but it can draw attention to changes that should be mentioned at a dental appointment. If there is severe pain, facial swelling, uncontrolled bleeding, fever, or difficulty swallowing, urgent professional care may be necessary.
2. Clean Between the Teeth First
Interdental cleaning is often the first active step in the 양치질 순서. Floss, floss holders, interdental brushes, rubber interdental cleaners, and water flossers can remove plaque and food debris from areas that toothbrush bristles may not reach. The best device depends on the size of the spaces, gum recession, orthodontic appliances, bridges, implant restorations, and the person’s ability to control the tool.
To use dental floss, guide it gently between the teeth rather than snapping it downward. Once the floss reaches the gumline, curve it around one tooth in a “C” shape and move it up and down along the side of the tooth. Extend slightly beneath the gum margin without forcing the floss into the tissue. Then clean the neighboring tooth surface before removing the floss and moving to the next space.
Traditional floss may be especially useful for tight contacts, but it can be difficult for some people to manipulate. Floss holders can make the process easier for people with limited finger movement. Children may need an adult to assist until they have the coordination to clean all areas independently.
Interdental brushes are often useful when spaces are wider, when gum recession has created openings, or when a person has a bridge, braces, or other dental appliance. The brush should fit snugly but should not require force. A brush that is too large may injure the gum or damage a restoration, while one that is too small may not contact the sides of the teeth effectively. Different parts of the mouth may require different sizes.
Some people prefer a water flosser, particularly around orthodontic brackets, implants, or complex restorations. Water flossers can help flush loose debris and may be easier for people who find string floss difficult. They should be used according to the manufacturer’s directions and should not be directed at a fresh surgical wound unless a clinician has specifically provided instructions.
Interdental cleaning may cause mild bleeding when a person begins after a period of irregular care. This can be a sign of inflammation rather than proof that flossing is harmful. Gentle daily cleaning often helps, but persistent bleeding, swelling, pain, pus, or a bad taste should be assessed by a dental professional.
3. Brush for Approximately Two Minutes
Apply a pea-sized amount of fluoride toothpaste for an adult unless a dental professional has recommended a different amount. Hold the brush at approximately a 45-degree angle toward the gumline. Use small, gentle movements, and divide the mouth into sections so that each receives similar attention.
A useful pattern is to brush the outer surfaces first, followed by the inner surfaces and then the chewing surfaces. However, the exact order of these surfaces matters less than maintaining a consistent system. Some people begin with the side of the mouth that they usually neglect. Others begin at the upper right and move clockwise until returning to the starting point.
Spending approximately 30 seconds on each quadrant can help achieve two minutes in total:
- Outer surfaces: Place the bristles partly on the teeth and partly at the gumline. Use small, controlled movements.
- Inner surfaces: Carefully clean the surfaces facing the tongue, especially behind the lower front teeth.
- Chewing surfaces: Use gentle back-and-forth movements to reach grooves and pits.
- Back teeth: Reach the outer, inner, and rear surfaces of the last molars without pressing the brush deeply into the cheek.
- Gumline: Direct the bristles toward the margin and clean carefully rather than scrubbing the gums.
The inner surfaces of the lower front teeth deserve special attention because saliva glands in that region can contribute to mineral deposits. The outer surfaces of the upper molars are also commonly missed because the cheek can make access difficult. Opening the mouth slightly rather than stretching it widely may allow the brush to reach those surfaces more comfortably.
Brushing pressure should be light. A practical test is to hold the toothbrush with the fingertips rather than a tightly clenched fist. If the bristles flatten substantially against the teeth, the pressure may be excessive. Some powered toothbrushes have pressure sensors that alert users when they are pressing too firmly.
Rinsing repeatedly during brushing may remove fluoride before it has sufficient contact with the teeth. It is usually unnecessary to add large amounts of water to the toothpaste. People who experience a strong foaming sensation may prefer a low-foaming toothpaste, but the product should still provide appropriate fluoride unless a dental professional recommends otherwise.
4. Clean the Tongue Carefully
The tongue can retain food particles, microorganisms, and compounds associated with unpleasant breath. After brushing, gently brush the tongue from back to front, stopping before triggering a gag reflex. A tongue scraper may also be used if it is comfortable and does not irritate the surface.
There is no need to scrape forcefully or attempt to remove every natural coating. Excessive pressure can cause soreness and may damage the delicate surface. Tongue cleaning is a supporting measure, not a replacement for brushing, interdental cleaning, or treatment of gum disease.
Persistent bad breath may have causes beyond the tongue, including periodontal disease, untreated cavities, dry mouth, smoking, reflux, sinus conditions, medication effects, or other medical problems. A coated tongue that does not improve, a persistent white or red patch, pain, ulceration, or unexplained bleeding should be evaluated by a dental or medical professional.
5. Spit Rather Than Rinse Extensively
After brushing with fluoride toothpaste, spit out the excess. Many dental professionals advise avoiding an immediate, substantial water rinse because it can dilute and remove fluoride from the tooth surfaces. Leaving a small amount of fluoride residue in the mouth allows it to continue supporting enamel protection after brushing.
If a mouthwash is part of the routine, it may be better used at a separate time, depending on the product and the clinician’s advice. Using mouthwash immediately after brushing can wash away fluoride from toothpaste. Mouthwash can supplement mechanical cleaning, but it cannot replace brushing or cleaning between the teeth.
Do not swallow toothpaste. Follow the label directions for mouthwash, and keep products containing alcohol, fluoride, or other active ingredients away from young children unless a professional has provided specific guidance. Children may need supervision to prevent swallowing and to ensure that the correct amount of toothpaste is used.
6. Clean and Store the Toothbrush
Rinse the toothbrush under running water, remove visible toothpaste residue, and store it upright where it can dry. Avoid covering a damp brush for long periods because a moist, enclosed environment may encourage microbial growth. If several toothbrushes are stored together, prevent the bristles from touching one another.
Toothbrushes should generally be replaced every three to four months, or sooner when bristles become frayed, flattened, or splayed. Children may wear out brushes more quickly because they often bite the bristles or use extra pressure. A powered toothbrush head should be replaced according to the manufacturer’s instructions or when it shows visible wear.
When Should You Follow This Routine?
Most people benefit from brushing twice a day with fluoride toothpaste. The evening brushing session is especially important because saliva flow usually decreases during sleep. With less saliva available to neutralize acids and clear debris, plaque can remain in contact with teeth for longer periods overnight.
Brushing should also be performed at another suitable time during the day. Some people brush after breakfast, while others brush before breakfast. If brushing before breakfast, the mouth is cleaned before food is consumed. If brushing after breakfast, it is important to consider the acidity of the meal and beverages.
After consuming acidic foods or drinks such as citrus products, sports drinks, carbonated beverages, energy drinks, vinegar-based foods, or wine, immediate vigorous brushing may increase abrasion of softened enamel. A common approach is to rinse with water and wait approximately 30 minutes before brushing. The most suitable interval can vary according to diet, reflux, enamel erosion, and individual risk.
After vomiting, brushing immediately may also expose softened tooth surfaces to abrasion. Rinsing with water or with a dentist-recommended solution and waiting before brushing can be more appropriate. People with frequent reflux or vomiting should seek medical and dental advice because the underlying cause may require treatment.
Common Errors in the 양치질 순서
Brushing Before Cleaning Between Teeth
Brushing first is not necessarily harmful, but it may leave loosened debris in interdental spaces. Cleaning between the teeth before brushing can make it easier to remove that material and distribute fluoride toothpaste around the cleaned areas. The most important point is to perform both steps consistently.
Using Excessive Pressure
Hard scrubbing does not equal better cleaning. Excessive pressure may cause gum irritation, recession, sensitivity, and abrasion of exposed root surfaces. Plaque is a soft deposit that can generally be removed with controlled movements and a soft-bristled brush.
Ignoring the Gumline
Some people focus on the visible front surfaces and overlook the junction between the tooth and gum. Plaque retained at this margin can contribute to gingivitis and, if not managed, more advanced periodontal problems. The bristles should be directed gently toward the gumline without forcing them into the tissue.
Using the Same Motion Everywhere
The back of the lower front teeth, the chewing grooves of molars, and the surfaces around orthodontic brackets do not have identical shapes. A single large scrubbing motion may fail to clean these areas. Short, controlled movements and a deliberate pattern are usually more effective.
Stopping When the Gums Bleed
Bleeding can occur when inflamed gums are cleaned after a period of inadequate interdental care. Stopping all cleaning may allow plaque to remain and can prolong inflammation. Gentle cleaning should usually continue, but persistent, heavy, or spontaneous bleeding requires dental assessment.
Using a Worn Brush
Flattened or splayed bristles are less effective and may feel harsher against the gums. Replace the brush according to visible wear as well as the recommended time interval.
Brushing Immediately After Acid Exposure
Acidic food and drinks can temporarily soften the outer tooth surface. Immediate aggressive brushing may contribute to wear. Rinsing with water and waiting before brushing is often a safer approach, particularly for people with enamel erosion or acid reflux.
Adapting the Sequence for Dental Implants
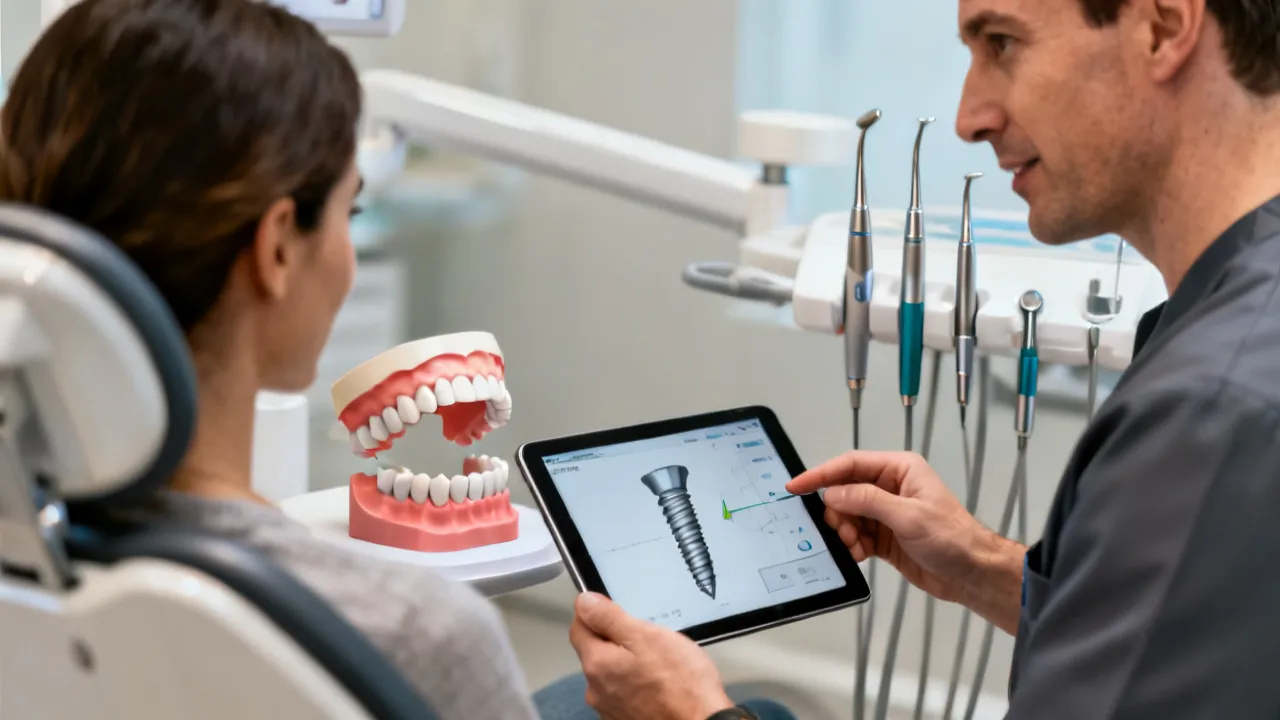
A dental implant replaces the root portion of a missing tooth with a biocompatible fixture, which supports an abutment and a crown or another prosthesis. The implant fixture cannot develop tooth decay in the same way as a natural tooth, but the surrounding gum and bone can become inflamed. This condition may be described as peri-implant mucositis or peri-implantitis, depending on the presence and extent of supporting-bone loss.
Implant care should focus on removing plaque around the crown, abutment, and gum margin. The sequence may include an interdental brush, specialized floss, a single-tuft brush, and a regular toothbrush. The exact combination depends on the restoration’s shape and the amount of space around it.
- Use the implant-care tools demonstrated by the treating dentist.
- Clean beneath or around a bridge using an appropriate threader, super floss, or interdental device.
- Use a single-tuft brush for hard-to-reach contours if recommended.
- Consider a water flosser if the clinician confirms that it is appropriate and demonstrates the pressure setting.
- Avoid metal instruments, pins, or improvised objects that may scratch components or injure tissue.
- Attend maintenance visits so the clinician can evaluate gum health, plaque retention, bite forces, and the prosthesis.
Immediately after implant surgery, the dentist’s post-operative instructions take priority over the routine described above. Brushing directly over a surgical site may be restricted temporarily. Prescribed rinses, dietary instructions, medication directions, and follow-up appointments should be followed precisely.
Contact the clinic if there is worsening swelling, fever, uncontrolled bleeding, severe pain, pus, an unpleasant taste, numbness that does not resolve as expected, or a prosthesis that becomes loose. Do not attempt to tighten or repair an implant component at home.
Adapting the Sequence for Braces and Orthodontic Appliances
Braces create additional surfaces where plaque and food debris can accumulate. People with fixed orthodontic appliances may need more time than two minutes, particularly during the evening routine. A small-headed soft brush, an orthodontic brush, an interdental brush, and a floss threader may all be useful.
Begin by cleaning around the brackets and the gumline. Hold the brush at an angle above the brackets and then below them so that both the gum-side and chewing-side edges are reached. An interdental brush can clean beneath the wire and between brackets. Floss threaders or specialized orthodontic floss can help reach contact points between teeth.
Removable aligners should be taken out before brushing unless the manufacturer and clinician provide different instructions. Clean the teeth before reinserting the aligners, and clean the aligners according to the prescribed method. Avoid placing sugary or acidic drinks inside an aligner because the appliance can hold those substances against the teeth.
Adapting the Sequence for Bridges, Crowns, and Dentures
Crowns and bridges do not make the supporting teeth or surrounding gums immune to disease. Plaque can collect at the edge of a crown, beneath a bridge, or around the abutment teeth. Specialized floss, floss threaders, interdental brushes, and single-tuft brushes may be needed.
For a fixed bridge, clean beneath the artificial tooth using the method demonstrated by the dental professional. Avoid forcing floss upward in a way that could dislodge the restoration. If a bridge or crown feels loose, stop chewing hard foods on that side and contact the dental office.
Full and partial dentures should be removed and cleaned according to professional instructions. The gums, tongue, and remaining natural teeth still require cleaning even when dentures are worn. Dentures should generally not be worn continuously unless a clinician has specifically instructed otherwise, because the tissues may need a period of rest.
How to Reduce the Overall Cost of Dental Implants
Dental implant treatment is a multi-stage clinical service. The quoted amount may include only the implant fixture, or it may include the abutment, crown, imaging, extraction, bone grafting, temporary tooth, laboratory work, anesthesia, and maintenance. Comparing only the headline price can produce a misleading result.
1. Confirm Whether an Implant Is Necessary
Ask the dentist to explain all reasonable options, including a conventional bridge, removable partial denture, or no immediate replacement where clinically appropriate. Each option has different advantages, limitations, maintenance needs, and long-term costs. An implant should be selected because it fits the patient’s oral condition and preferences, not solely because it is marketed as inexpensive.
2. Request an Itemized Treatment Plan
Ask for written details covering consultation, diagnostic imaging, extraction, bone grafting, implant placement, healing, temporary restoration, abutment, permanent crown, sedation, laboratory fees, follow-up appointments, and replacement policies. Also ask whether emergency visits and adjustments are included.
3. Obtain More Than One Professional Opinion
A second opinion can clarify whether bone grafting, immediate placement, a particular implant system, or additional procedures are necessary. The purpose is not simply to collect the lowest number but to compare diagnoses, treatment logic, experience, materials, risks, and aftercare.
4. Compare Accredited and Established Clinics
Review the clinician’s qualifications, registration status, surgical experience, infection-control procedures, and approach to complications. A clinic’s website may provide background information, but regulatory records and direct communication are more important than promotional claims.
5. Review Insurance and Payment Plans
Dental insurance may cover some diagnostic, restorative, or surgical components, although annual limits, waiting periods, exclusions, missing-tooth clauses, and preauthorization requirements are common. Ask the insurer for written confirmation before treatment begins.
Clinics may offer staged payment arrangements or financing. Review interest, administrative fees, cancellation terms, and the consequences of treatment interruption. Patients should avoid taking on unaffordable debt for elective care.
6. Treat Active Dental Disease First
Untreated periodontal disease, uncontrolled decay, poor oral hygiene, smoking, and certain medical conditions can affect healing and treatment planning. Addressing these issues before surgery may reduce the risk of complications and additional expenses. A complete medical history should include medications, diabetes status, immune conditions, osteoporosis therapies, allergies, and previous radiation treatment.
7. Consider Location Carefully
Prices can vary between major cities, regional areas, and neighboring countries. A lower fee should be weighed against travel costs, time away from work, emergency access, language barriers, and the practical difficulty of returning for adjustments. Local aftercare can be particularly important if the crown becomes loose or the implant area develops inflammation.
Individual Dental Implant Price Ranges
The following figures are reference ranges for an individual dental implant in selected markets. They should not be interpreted as universal quotations. “Individual implant” may mean the fixture alone at one clinic and the fixture, abutment, and crown at another. Always request an itemized estimate.
| Country | Currency | Reference price range for one individual dental implant |
|---|---|---|
| United States | USD | $3,000–$6,000 |
| United Kingdom | GBP | £2,000–£2,500 |
| Australia | AUD | AU$3,500–AU$6,500 |
| Canada | CAD | CA$3,000–CA$5,500 |
| Spain | EUR | €1,500–€2,500 |
| Chile | CLP | CLP$800,000–CLP$1,500,000 |
| Mexico | MXN | $15,000–$25,000 MXN |
| Colombia | COP | $2,000,000–$4,000,000 COP |
| Peru | PEN | S/ 3,000–S/ 6,000 |
| Argentina | ARS | $80,000–$150,000 ARS |
| Brazil | BRL | R$3,000–R$8,000 |
| Portugal | EUR | €1,000–€2,000 |
| Germany | EUR | €2,000–€3,500 |
| France | EUR | €1,500–€2,500 |
| Italy | EUR | €1,500–€3,000 |
| Japan | JPY | ¥300,000–¥700,000 |
The table includes English-, Spanish-, Portuguese-, German-, French-, Italian-, and Japanese-speaking markets because the reference information covers these locations. Currency conversion is omitted because exchange rates change continuously, and converted figures may create a false impression of current accuracy.
Why Implant Prices Differ
Implant pricing reflects more than the cost of a titanium or ceramic fixture. Clinical complexity, the provider’s training, the facility, diagnostic equipment, laboratory services, anesthesia, the prosthesis, and local operating costs all contribute to the final amount.
Bone Availability
When the jawbone lacks adequate height or width, the dentist may recommend grafting or another augmentation procedure. This can increase the number of visits, healing time, and total cost. Some patients have sufficient bone for implant placement without grafting, but this can only be determined through examination and imaging.
Tooth Extraction and Infection
An extraction may be necessary before placement. The fee may include surgical complexity, infection management, and temporary tooth replacement. Immediate placement is not suitable for every patient, particularly when there is active infection, substantial bone loss, or unfavorable soft-tissue conditions.
Implant and Prosthesis Materials
Implant systems differ in design, evidence base, component availability, and laboratory compatibility. Crowns may be made from different ceramic or metal-ceramic materials. The most expensive material is not automatically the best choice for every location, but the clinician should explain why a particular material is recommended.
Number and Position of Missing Teeth
Replacing one front tooth may require careful attention to gum contours, color, shape, and symmetry. A back tooth may have different functional requirements. Multiple missing teeth may be restored with a bridge or implant-supported prosthesis rather than one implant per tooth.
Follow-Up and Maintenance
A responsible quote should describe follow-up appointments and the management of complications. Even a successful implant requires daily cleaning and periodic professional review. The crown may wear or loosen over time, and natural teeth elsewhere in the mouth remain vulnerable to decay and periodontal disease.
Conditions and Requirements Before Implant Treatment
Implant treatment generally begins with a consultation rather than surgery. The clinician reviews the patient’s concerns, medical history, dental history, expectations, and ability to maintain oral hygiene. Examination may include periodontal measurements, photographs, dental impressions or digital scans, and radiographs. Three-dimensional imaging may be indicated when anatomy is complex or when nerve and sinus structures must be assessed.
Smoking can impair healing and is associated with poorer periodontal and implant outcomes. A dentist may recommend smoking cessation or reduction before and after surgery. Diabetes should be appropriately managed, and medication use must be disclosed. Patients taking anticoagulants, antiresorptive medicines, corticosteroids, or immune-modifying drugs should not stop or change treatment without advice from the prescribing clinician.
Good plaque control is a central requirement. Patients who cannot clean effectively around the planned restoration may need preventive treatment and instruction before surgery. Active periodontal disease should be addressed because inflammation around existing teeth can complicate implant maintenance.
Expectations also matter. Implant treatment is not always completed in one visit. Healing may require several months, and a temporary restoration may have functional limitations. The dentist should explain alternatives, likely stages, possible complications, and the circumstances in which treatment may need to be postponed or changed.
Professional Maintenance After Implant Placement
Once the final restoration is in place, the patient should continue the adapted 양치질 순서 every day. A maintenance visit may include examination of the implant, crown, gum tissues, neighboring teeth, bite, and plaque-control technique. The frequency depends on risk factors such as previous periodontal disease, smoking, diabetes, oral-hygiene performance, and prosthesis complexity.
Patients should report a crown that moves, a change in the way the teeth meet, bleeding around the implant, swelling, bad taste, persistent discomfort, or difficulty cleaning. Early evaluation may allow a clinician to correct a loose component or improve access before the problem becomes more extensive.
Dental implants do not eliminate the need for routine dental care. Natural teeth can still develop cavities, and gum tissues around implants require ongoing monitoring. A balanced diet, adequate hydration, management of dry mouth, and avoidance of tobacco support general oral health.
FAQs About 양치질 순서 and Dental Implants
Should I floss before or after brushing?
Many dental professionals recommend cleaning between the teeth before brushing because it can loosen debris and allow fluoride toothpaste to reach interdental surfaces. If another sequence helps you maintain both habits consistently, that is preferable to omitting interdental cleaning.
Should I rinse after brushing?
After fluoride brushing, spit out the excess toothpaste and avoid an immediate large water rinse unless your dental professional advises otherwise. If you use mouthwash, follow the product instructions and consider using it at another time so that fluoride from toothpaste is not promptly diluted.
Why do my gums bleed when I floss?
Bleeding may indicate plaque-related inflammation, especially when interdental cleaning has been irregular. Use gentle technique and continue cleaning carefully. If bleeding persists after consistent care, is severe, occurs without provocation, or is accompanied by swelling or pain, arrange a dental examination.
Can I use a water flosser around an implant?
Many patients can use a water flosser around an implant, but the appropriate pressure and nozzle depend on the restoration and surrounding tissues. Ask the implant dentist or hygienist for a demonstration. Never direct high-pressure water into a fresh surgical wound unless specifically instructed.
Can a dental implant get a cavity?
The implant fixture does not develop tooth decay in the same way as natural enamel. However, the crown can fracture or wear, and the gum and bone around the implant can become inflamed. Plaque control and professional maintenance remain necessary.
Is a mini dental implant suitable for everyone?
No. Mini implants have a smaller diameter and may be useful in selected situations, but suitability depends on bone anatomy, the planned prosthesis, loading forces, medical history, and clinical assessment. A mini implant should not be selected solely because its advertised price is lower.
How long does dental implant treatment take?
The timeline varies. A straightforward case may involve examination, placement, healing, and restoration over several months. Bone grafting, infection, delayed healing, immediate-placement decisions, and complex prosthetic work can extend the process.
Is treatment abroad always less expensive?
No. The clinical fee may be lower in some destinations, but flights, accommodation, time away from work, additional imaging, local emergency care, and treatment of complications can change the total cost. Patients should compare the complete pathway rather than a promotional starting price.
What should I ask a clinic before paying a deposit?
Ask who will perform surgery, what qualifications they hold, which services the quote includes, what implant system will be used, how complications are handled, whether the deposit is refundable, how records are transferred, and who provides follow-up care. Request answers in writing.
Can better brushing prevent implant failure?
Effective brushing and interdental cleaning help control plaque and support healthy tissues, but they cannot eliminate every risk. Implant outcomes are also influenced by bone quality, surgical planning, smoking, systemic health, bite forces, prosthesis design, and attendance at maintenance visits.
Practical Daily Checklist
- Choose a soft brush and suitable fluoride toothpaste.
- Clean between the teeth with the device recommended for your mouth.
- Brush for approximately two minutes, covering every surface and the gumline.
- Clean the tongue gently if desired.
- Spit out toothpaste and avoid an immediate large water rinse.
- Rinse and air-dry the toothbrush upright.
- Use additional implant-care tools exactly as demonstrated by your clinician.
- Schedule examinations and maintenance at the recommended interval.
- Seek care for persistent bleeding, swelling, pain, mobility, or changes around an implant.
Conclusion
The best interpretation of 양치질 순서 is a structured oral-care routine that is thorough, gentle, and realistic. Cleaning between the teeth, brushing with fluoride toothpaste, addressing the gumline, and maintaining the tongue and toothbrush can support daily plaque control. For dental implants, the same principles apply with additional attention to spaces beneath crowns, bridges, and implant-supported prostheses.
When evaluating lower-cost dental implants, patients should compare complete treatment plans, professional qualifications, materials, aftercare, insurance conditions, travel requirements, and possible additional procedures. A lower initial price is meaningful only when the treatment remains appropriate, transparent, and supported by reliable follow-up.
Disclaimer
The information in this article is educational and is based on online resources and reference data available as of October 2023. It does not provide a diagnosis, replace professional dental advice, or guarantee the accuracy of current prices, clinic services, regulations, or treatment outcomes.
Dental implant prices are for reference only and may vary by region, clinic, and doctor. Prices may also change according to the implant system, diagnostic imaging, extraction, bone grafting, anesthesia, laboratory work, restoration type, insurance coverage, currency fluctuations, and follow-up requirements. Obtain a current, itemized estimate and discuss risks and alternatives with a qualified dental professional.
References and Links
- Dental Views: Low-Cost Dental Implants
- Atlantic Dental Group
- DentaVacation
- Rockville Dental Arts
- Union City Mini Dental Implants
- Cigna: Spanish Guide to Dental Implants
- Rubi Odonto
- Odontologia Velasco
- DentalVidas
- American Dental Association: Toothbrushes
- American Dental Association: Floss and Other Interdental Cleaners
- NHS: How to Keep Your Teeth Clean
- General Dental Council, United Kingdom
- Australian Health Practitioner Regulation Agency
- Dental Board of Australia
- Royal College of Dental Surgeons of Ontario
- Conselho Regional de Odontologia de São Paulo
- Ordem dos Médicos Dentistas, Portugal